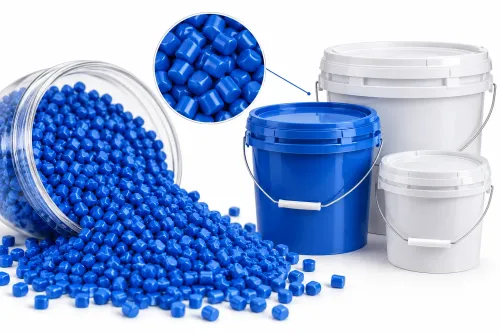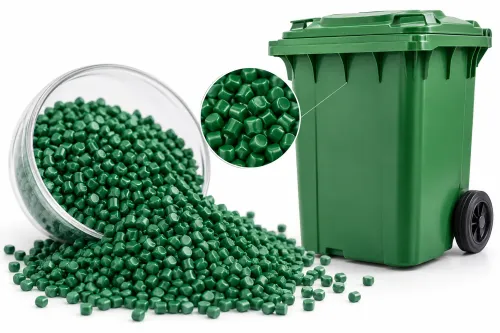
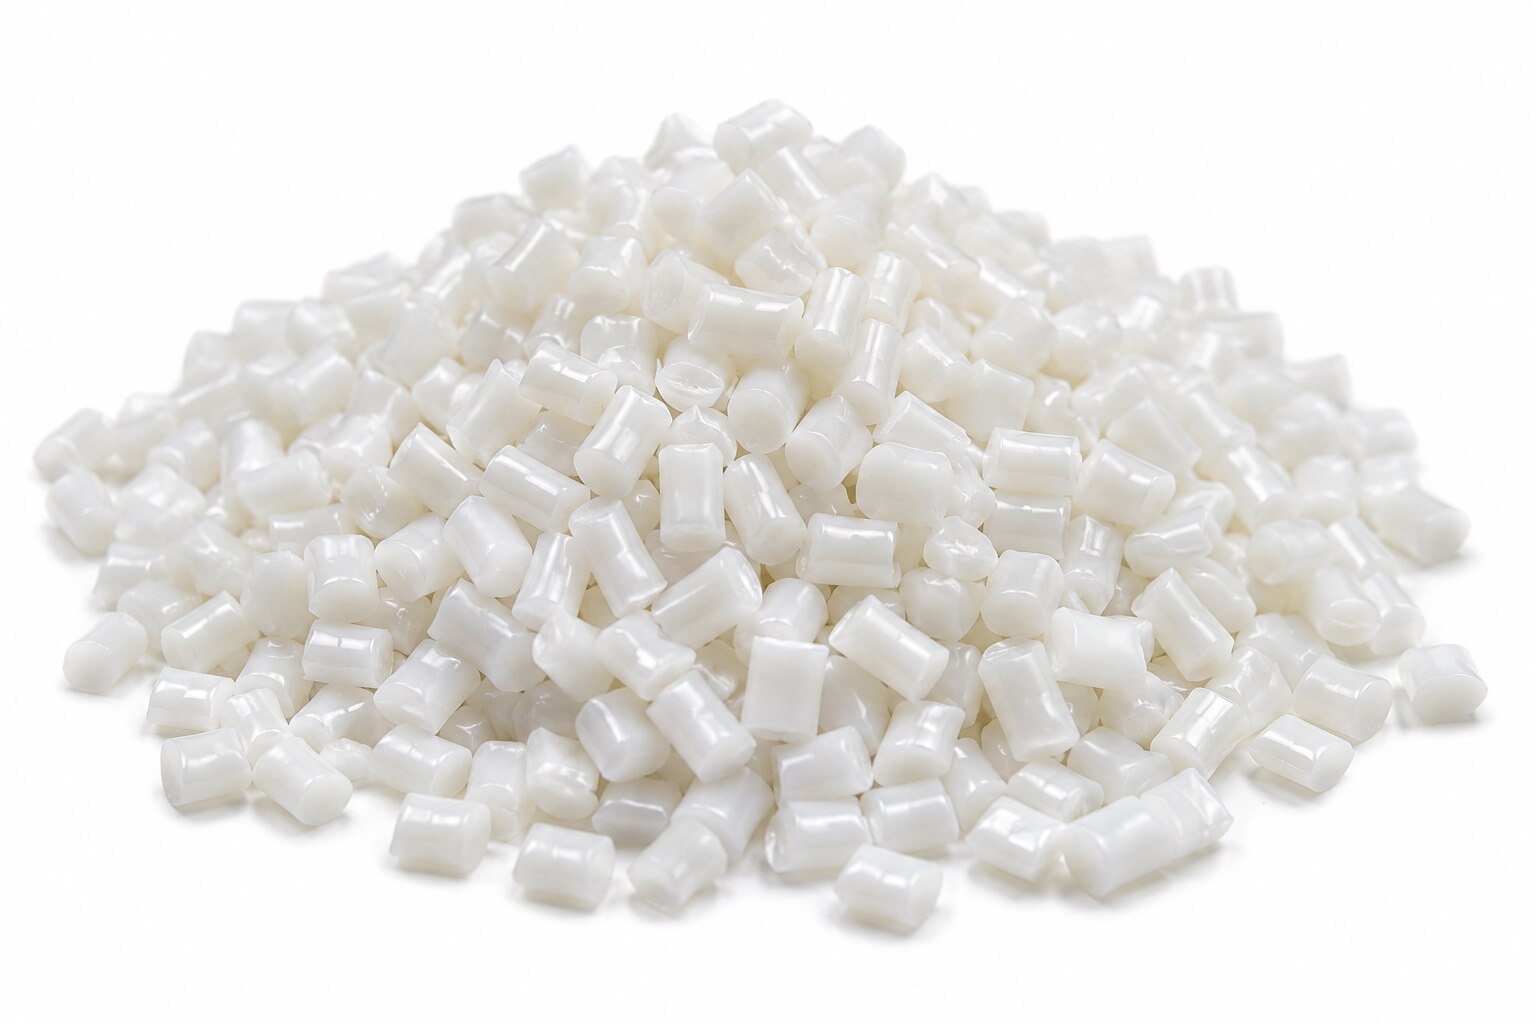
A paint bucket can leave the same mould with different shades, gloss levels or visible specks when dosage, resin, moulding conditions and pigment dispersion are not controlled together. By the end, you will have a practical method for setting let-down, approving colour, diagnosing defects and choosing between masterbatch and other colouring methods.
Key takeaways
- Trial 1%, 2% and 3% let-down rates before selecting the production dosage.
- Match the masterbatch carrier resin to polypropylene or high-density polyethylene.
- Approve colour and gloss on moulded bucket parts, not on pellets.
- Record batch numbers and process conditions when investigating streaks or specks.
Set the Masterbatch Dosage Before the First Production Run
Set the paint bucket masterbatch dosage from a moulded-part target, not from pellet colour. Use the concentrate supplier’s pigment-strength recommendation to choose trial points in the low single-digit range, such as 1%, 2% and 3% let-down percentage. Confirm that the carrier resin is compatible with the bucket resin, including polypropylene or high-density polyethylene.
- Weigh the planned host resin and calculate masterbatch mass using the agreed basis: masterbatch kg = host-resin kg × let-down percentage ÷ 100. For 100 kg of polypropylene at a 2% let-down, add 2 kg of masterbatch.
- Load the concentrate into a calibrated gravimetric dosing unit at the injection moulding machine throat or blender. Calibrate it with the actual pellets, because pellet size, bulk density and conveying conditions change the delivered rate.
- Keep barrel temperatures, screw speed, back pressure, injection speed, cooling time and mould temperature fixed while producing each trial. Changing several settings hides the cause of a shade change.
- Inspect cooled bucket bodies or plaques under the agreed lighting. If the colour is weak, raise the dosage in small, recorded increments; if it is too dark, reduce it. Do not compensate for streaks or specks by adding more concentrate.
- Record the feeder setting, weighed output, resin lot, regrind percentage and moulding conditions. Approve separate targets for virgin resin and any controlled regrind blend.
A feeder setting approved on one line does not prove the same dosage on another. Recheck the delivered mass before the production run and after extended running.
Match the Concentrate to Each Bucket Component and Resin
A bucket body moulded in PP should not share a concentrate automatically with an HDPE lid or handle. Match the carrier to the resin entering each mould; carrier-resin compatibility affects dispersion, gloss, weld-line strength and surface defects.
| Component | Typical resin | Concentrate decision |
|---|---|---|
| Bucket body | PP | Use a PP masterbatch for paint buckets matched to the body grade, wall thickness and mould texture. |
| Lid | PP or HDPE | Select a PP or HDPE masterbatch according to the actual lid resin; do not substitute between them without a trial. |
| Handle | PP, HDPE or another polyolefin | Prioritise impact, hinge and weld-line performance, then approve colour on the moulded handle. |
| Recycled-content layer | Recycled PP, HDPE or a blend | Match the concentrate to the recycled resin and set a separate colour standard for its thermal history and contamination level. |
For white parts, specify a white masterbatch titanium dioxide grade suited to the required opacity. Rutile titanium dioxide usually provides stronger brightness and weatherability than anatase, but excessive loading can raise melt viscosity, restrict flow and increase cost. Judge hiding power on the finished wall, not from pellet appearance.
Treat calcium-carbonate filler as a structural change, not a cheap colour adjustment. Validate its loading through handle pull, hinge cycling, drop-impact and stacking tests because it can alter shrinkage, warpage, gloss, stiffness and surface smoothness.
Keep virgin-only and recycled-content formulations as separate approved recipes. Also check UV stabilisers, antioxidants, slip agents and antistatics for blooming, migration, altered gloss and poor paint-label adhesion.
Approve Colour with Moulded Parts, Not Pellet Appearance
Define the colour standard for plastic buckets on a moulded plaque or approved production part, never from the masterbatch pellets. Pellets can look uniform while poor dispersion creates specks, streaks or shade patches after injection moulding.
Record the conditions used to produce the reference and repeat them for every batch:
- Resin grade, virgin or regrind percentage, and masterbatch dosage
- Melt temperature, mould temperature, cooling time and injection speed
- Mould texture, measurement area and part thickness
- Illumination, observer angle and measurement geometry
- Instrument reading and permitted colour difference
Keep the approved colour plaque sealed, labelled with its resin, formulation, moulding conditions and approval date. Inspect each new production batch beside this plaque under the same lighting, then take a spectrophotometer colour measurement from consistent areas of the bucket. A single visual check can miss a small but repeatable shade drift.
Set the acceptance limit as Delta E (ASTM D2244), with the measurement setup stated beside the limit. An unspecified ΔE value is not comparable between suppliers because geometry, illuminant and observer settings change the result.
Evaluate the surface finish separately: mould texture, steel condition, cooling and flow orientation affect gloss, so a masterbatch cannot guarantee identical gloss across polished, ribbed and textured regions.
If regrind enters production, approve a separate colour plaque for that formulation. Its thermal history, additive content and contamination can shift both shade and finish even when the masterbatch dosage remains unchanged.
Trace Specks, Streaks and Gloss Changes to the Process
Map the defect across several buckets before changing the recipe. A uniform shade shift points to dosing; isolated specks, streaks or patches point to mixing, moisture, contamination or moulding conditions.
1. Check dosing first. Weigh masterbatch and natural resin separately, then compare the actual let-down with the approved calculation. A consistent light or dark result across the entire part indicates an incorrect feed rate or a wrong concentrate.
2. Investigate masterbatch dispersion problems by running a purge and moulding a thin plaque at the approved temperature and screw speed. Poor dispersion produces black dots and colour clouds, while agglomerates that break apart during filling create colour streaks in injection moulding.
3. Check for moisture if you see splay, silver streaks, bubbles or a dull, frosted surface. Dry the resin and concentrate according to their supplier instructions, then repeat the same cycle; changing colour dosage will not cure wet material.
4. Purge the barrel, hopper, gravimetric feeder and conveying line when specks match a previous colour or appear intermittently. Residual pigment creates contamination defects that follow cleaning, not dosage changes.
5. Compare the defect with flow direction, ribs, weld lines and the gate. Localised gloss differences usually reflect mould texture, steel condition, cooling or orientation rather than colourant. Measure bucket gloss ASTM D523 and compare like-for-like surfaces; polished and textured regions cannot share one gloss target.
Choose the Colouring Route and Validate the Supplier
Choose masterbatch when you need economical colour changes, controlled dosing and repeatable results across injection-moulded bucket parts. Use pre-coloured compound for the tightest shade control when volumes justify dedicated material and colour changes must be minimal.
| Route | Strength | Choose it when |
|---|---|---|
| masterbatch versus pre-coloured compound | Flexible dosing and lower storage burden; compound gives tighter ready-to-run consistency | Use masterbatch for varied colours or moderate runs; choose compound for high-volume, highly critical shade production |
| liquid colour for plastics | Efficient metering without pellets | Use it only with verified dosing equipment, carrier compatibility and a clean delivery system; leaks and calibration drift can create shade bands |
| direct pigment addition | Lowest formulation complexity on paper | Avoid it for routine bucket production unless you have controlled dispersion equipment; undispersed pigment causes specks and streaks |
| regrind colour consistency | Lower material waste | Approve a separate standard for each defined regrind percentage, because thermal history and contamination can shift shade and finish |
Before approval, request a moulded plaque or bucket sample made in your resin, dosage, cycle and mould texture—not only coloured pellets. Require the substrate, illumination, observer angle, measurement geometry and allowable ΔE, with ASTM D2244 calculations; use ASTM D523 for gloss, while recognising that mould texture and cooling also control gloss.
Ask Khetan Polytex Private Limited for carrier-resin compatibility data, recommended let-down, heat exposure limits, batch-to-batch colour records and dispersion evidence. Reject approval if the sample contains splay, silver streaks, residual colour contamination or unexplained variation between virgin and regrind formulations.
Related products
 | Khetan Polytex are leading colour master batches manufacturers in India, Jaipur. Colour Masterbatches are used for coloring plastics and their dyes. View product → |
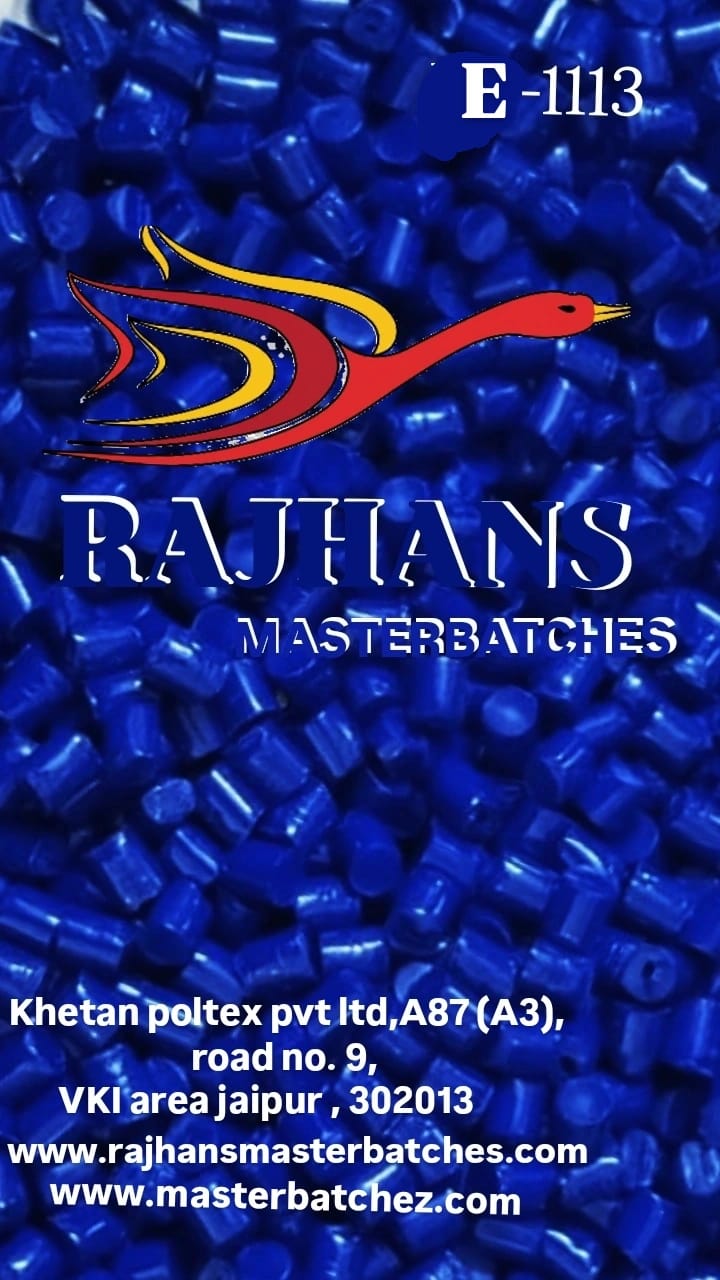 | BLUE MASTERBATCH ₹300 Enhance your Plastic Products with Superior Blue Masterbatch! Blue Masterbatch is a high-quality colouring solution designed to provide plastic with... View product → |
Frequently asked questions
How do you set masterbatch dosage for paint bucket manufacturing?
Start from a moulded-part colour target and trial low single-digit let-down rates such as 1%, 2% and 3%. Select the lowest dosage that meets colour, opacity and finish requirements.
Why must masterbatch carrier resin match the bucket resin?
A compatible carrier helps the concentrate disperse through the bucket resin. Check compatibility with the specific polypropylene or high-density polyethylene grade before production.
Should you approve masterbatch colour by inspecting the pellets?
No. Approve colour, opacity, gloss and surface appearance on moulded bucket parts under consistent lighting. Pellet appearance does not predict the final result reliably.
What causes specks, streaks and gloss changes in coloured buckets?
Check masterbatch dispersion, contamination, moisture, dosing accuracy, melt temperature, screw mixing, residence time, mould temperature and material batch records.
Related products
 | BLUE MASTERBATCH ₹220 BLUE MASTERBATCH WITH BRIGHT TONE OF BLUE COLOR ,EASILY COMPATIBLE WITH PE AND PP RESINS,STABLE WITH CHANGES IN WEATHER AND SURROUNDINGS .ABILITY TO... View product → |
 | BLUE MASTERBATCH ₹295 BLUE COLOUR MASTERBATCH CODE OF PRODUCT: E 1049 HEAT STABILITY: 260° CELCIUS LIGHT FASTNESS: 7 DARK BLUE SHADE OF BLUE MASTERBATCH WITH VERY GOOD... View product → |
 | RED MASTERBATCH ₹248 OUR E 3051 RED MASTERBATCH HAS HIGH COLOR STRENGTH MAINLY USED IN LENO BAGS LIKE POTATO RED SHADE. View product → |
 | VIOLET MASTERBATCH ₹325 VIOLET 13007 MASTERBATCH IS A BRIGHT VIOLET COLOR WITH HIGH COLOR STRENGTH. View product → |