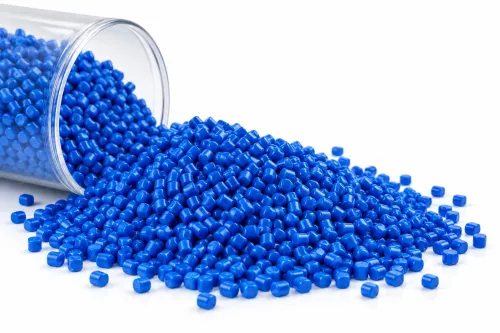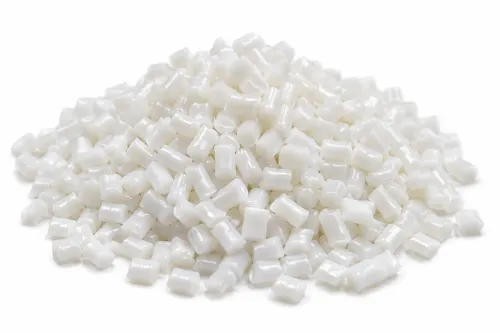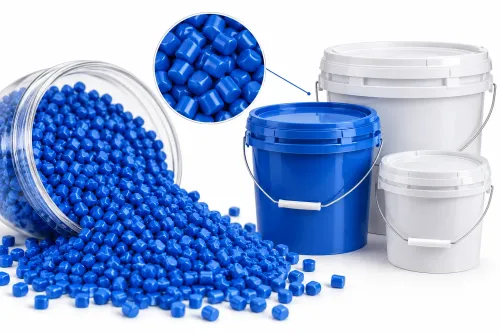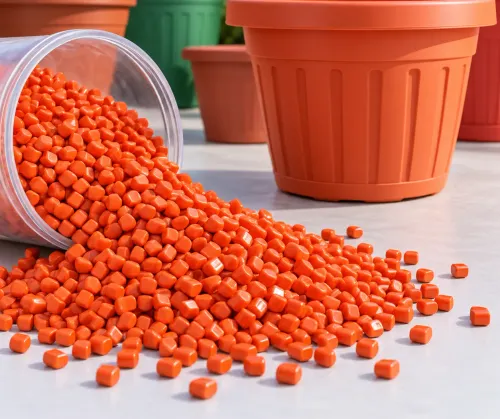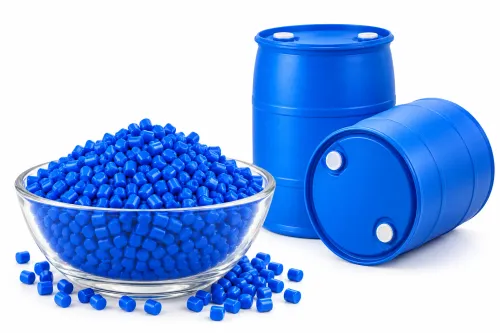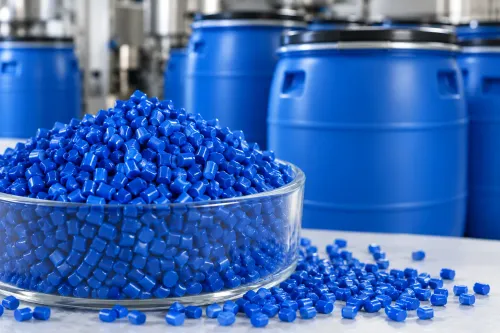
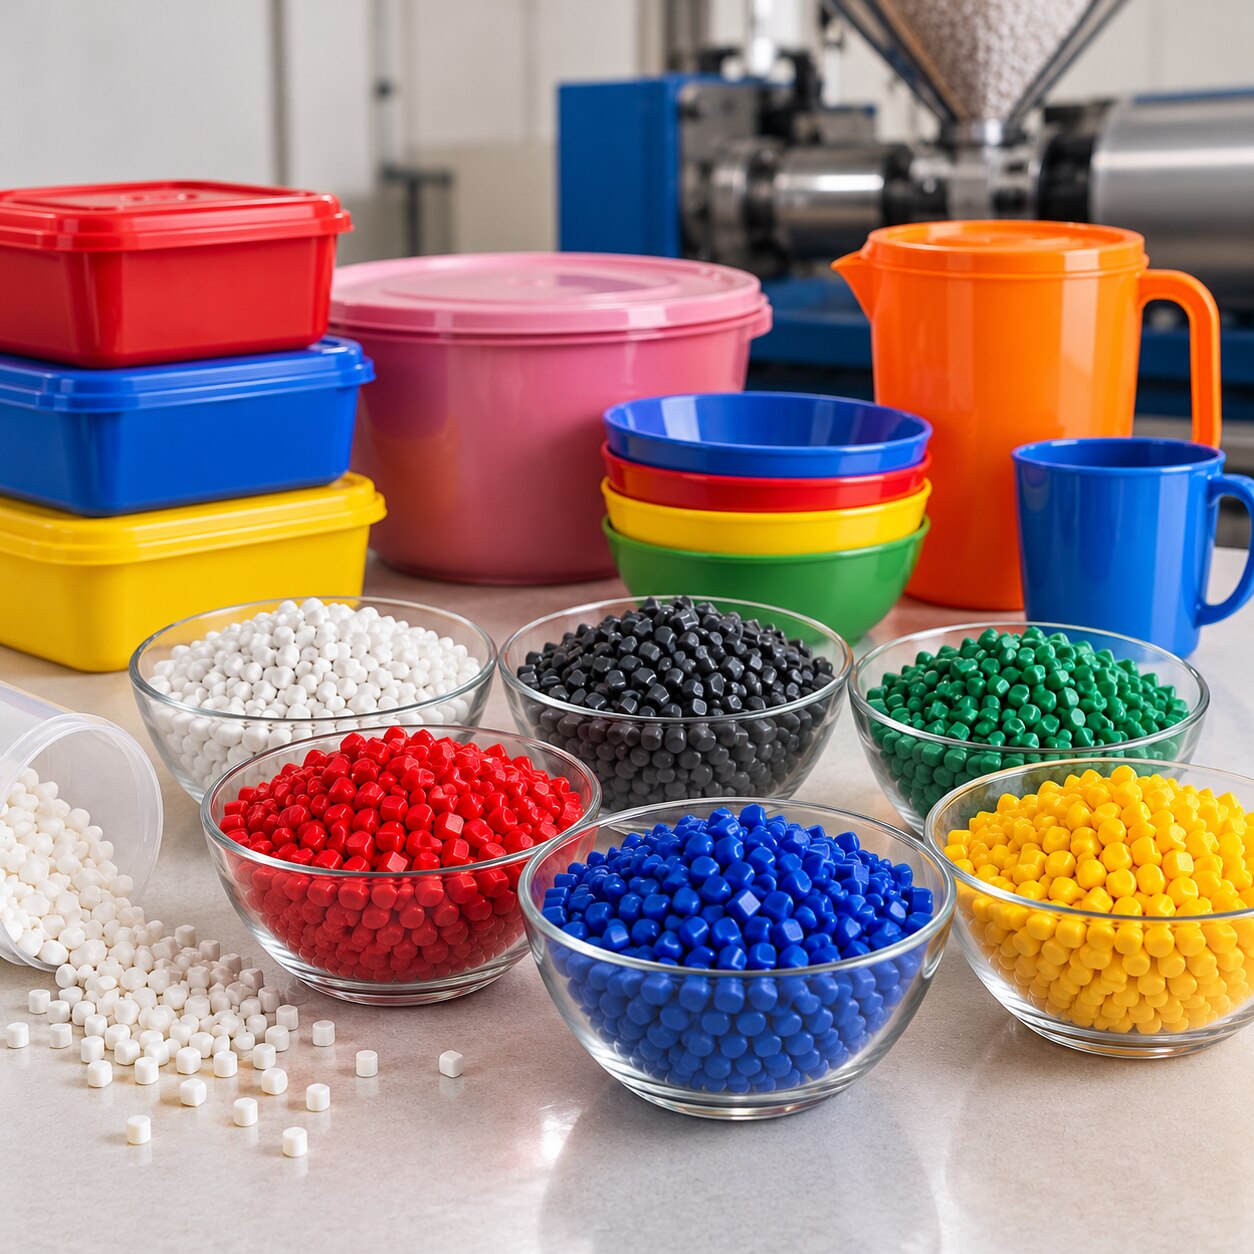
A kitchen set can leave the mould with different-looking bowls, lids, handles and spatulas even when the same colour formula is used. A controlled reference, resin-specific formulation, calibrated dosing and disciplined inspection let you approve one shade and keep later production lots within an agreed tolerance.
Key takeaways
- Define resin, process, appearance and measurable colour limits before production.
- Set the let-down ratio and confirm compatibility with the base polymer.
- Control wall thickness, mould temperature and cooling across every component.
- Inspect samples under fixed lighting and record batch-to-batch shade changes.
Build a colour standard before releasing the first production run
A desired kitchen-set colour becomes a production standard only after you define its resin, moulding process, appearance and measurable limits. Colour matching against a screen or verbal description is not enough.
- Choose a physical reference standard: an approved part or plaque moulded in the production resin, with the final additive package, surface finish and thinnest critical wall section.
- Mould trial pieces for each resin used across the set. A polypropylene bowl and an ABS handle may need separate colour matching because carrier compatibility, gloss and pigment interaction can shift the shade.
- Measure the approved specimen using CIELAB L*, a*, b* values and a named difference formula such as CIEDE2000. Record the illuminant, observer angle, measurement geometry, backing and sample preparation.
- Set the shade tolerance before production. Define the permitted CIEDE2000 difference and visual limits for gloss, translucency, specks and streaks; inspect under fixed lighting rather than relying on one viewing condition.
- Approve a lab trial containing the final masterbatch and additive package, then mould first-off parts using production settings. Release the run only when those parts match the reference and measurements fall inside tolerance.
Retain the physical reference standard with its batch record, resin grade, masterbatch code and approval date. Recheck production batches at a defined frequency; digital values alone cannot reveal metamerism, texture or a thin wall appearing lighter.
Set the let-down ratio and match the concentrate to the base resin
Start with the base resin, not the colour name. Choose a concentrate whose carrier and processing behaviour suit polypropylene, polyethylene, ABS, SAN, polyamide or the specific resin in the part; an ABS colour masterbatch is not automatically suitable for polypropylene.
Set the target as a mass ratio. At a 2% let-down ratio, blend 2 parts masterbatch with 98 parts base resin. If you weigh 100 kg of base resin, add 2.04 kg of concentrate to preserve that ratio; do not simply add 2 kg unless your plant defines dosage against total blend weight.
Confirm the target through a moulded trial because changing the let-down changes colour strength, opacity and undertone.
- Weigh the planned pellet batch and calculate the masterbatch quantity from the approved ratio.
- Enter that value as the masterbatch dosage in the feeder controller.
- Complete gravimetric dosing feeder calibration with the actual concentrate, checking discharged pellet weight over a timed run.
- Repeat the trial with the production additive package, specified regrind percentage and resin drying condition.
| Base resin | Concentrate choice | Main check |
|---|---|---|
| Polypropylene or polyethylene | Polyolefin-compatible carrier | Check dispersion, streaking and gloss at the target melt temperature |
| ABS or SAN | Styrenic-compatible carrier | Confirm shade after moulding; carrier mismatch can increase specks or filter pressure |
| Polyamide or polyester | Engineering-resin-compatible carrier | Dry the resin to its specified moisture target before judging colour |
Keep pellet weight records for resin and concentrate. Volumetric settings drift when pellet shape or bulk density changes, while gravimetric control measures the mass that actually enters the machine.
Account for polymer, wall thickness and moulding conditions across the set
One formula can look different because colour is produced by the whole moulded system, not by pigment alone. The carrier must disperse properly in the production resin; a concentrate designed for PP is not automatically suitable for ABS, SAN or polyamide. Resin melt flow, pigment interaction and moisture also change the result.
| Part | Resin example | Why the same formula shifts |
|---|---|---|
| Bowl | PP or PE | A thick section increases opacity and can show a deeper shade. |
| Lid | PP or ABS | A thinner section reveals undertone and changes surface gloss. |
| Handle | ABS or SAN | Different flow and cooling can alter dispersion and gloss. |
| Spatula | PP or polyamide | A thin blade exposes translucency; wet polyamide can create haze or splay. |
| Storage container | PP, PE or SAN | Resin compatibility and wall thickness affect colour strength. |
Moulding conditions create another source of drift. Raise the mould temperature and the surface may become glossier, making the colour appear darker or more saturated; change the cycle time and cooling history can alter shrinkage, texture and gloss.
Check the actual barrel temperature, residence time and shear because a long stoppage can degrade a heat-sensitive pigment even when the normal setting is correct.
Approve the thinnest critical wall, not only a thick colour plaque. Dry polyamide to its specified moisture target, and retain a reference part made in each approved resin and moulding process.
Inspect finished parts under fixed light and diagnose shade drift
Verify each production batch against a physical reference part under fixed, daylight-equivalent lighting, then measure representative finished components with a calibrated spectrophotometer. Inspect bowls, lids and handles from the same run; pellets alone cannot reveal changes caused by wall thickness, gloss, texture or translucency.
Keep the approved reference in the same resin and moulding process used for production. Record the illuminant, measurement geometry, observer angle, backing and sample preparation, because changing any of them can change the result. Recheck at a defined frequency, such as every batch or after a material change.
Use CIELAB coordinates—L* a* b*—and calculate colour difference with CIEDE2000 under ASTM D2244. Set the acceptance limit from moulded plaques or finished parts, not from a universal Delta E rule. A colour that passes numerically can still look wrong if gloss or metamerism changes under another light.
When shade drift appears, check the process in this order:
- Compare virgin resin and regrind separately; uncontrolled regrind percentage, previous thermal history or black-particle concentration can shift the shade.
- Check resin and masterbatch moisture; wet material can alter melt appearance and processing stability.
- Inspect feed throats, screw flights, non-return valves and hot runners for contamination from the previous colour.
- Validate purging for the exact machine and mould, then approve first-off parts; discarding a fixed number of shots is not enough.
- Confirm the final additive package, since UV stabilisers, optical brighteners and nucleating agents can change whiteness, haze or undertone.
Compare colouring methods before approving a kitchen-set supply route
Choose masterbatch when you need repeatable colour across several injection-moulded parts, frequent colour changes, or controlled dosing at moderate production volumes. Compare the alternatives against your resin, equipment and cleaning routine rather than choosing by colour name.
| Option | Strength | Main risk or cost | Choose it when |
|---|---|---|---|
| Masterbatch | Clean pellet handling, accurate gravimetric dosing and simpler shade changes | Poor carrier resin compatibility can cause streaks, specks or filter-pressure rise | You need repeatable colour and can match the carrier to PP, PE, ABS or another production resin |
| Pre-coloured resin | Colour arrives ready to process with no dosing step | Each shade requires separate resin inventory, increasing storage and changeover waste | One colour dominates high-volume production |
| Liquid colourant | Fine dosing and quick colour adjustment | Pumps, spills, migration and cleaning complicate control | Your equipment is designed for liquid dosing and the formulation requires it |
| Dry pigment blending | Low material cost and direct pigment flexibility | Dust, uneven dispersion and operator-dependent dosing can produce shade drift | You have controlled enclosed handling and validated high-shear mixing |
For food-contact kitchenware, assess the finished article—not only the pigment—under Regulation (EU) No 10/2011 or the applicable U.S. requirements, including 21 CFR 178.3297. Confirm the base polymer, carrier, additives, processing conditions and intended contact conditions.
Khetan Polytex Private Limited can be evaluated by requesting a trial in your exact resin, the recommended let-down ratio, and documentation supporting that specific food-contact application. Approve only after first-off parts match the established colour standard.
Related products
 | Khetan Polytex are leading colour master batches manufacturers in India, Jaipur. Colour Masterbatches are used for coloring plastics and their dyes. View product → |
 | BLUE MASTERBATCH ₹300 Enhance your Plastic Products with Superior Blue Masterbatch! Blue Masterbatch is a high-quality colouring solution designed to provide plastic with... View product → |
Frequently asked questions
What should you define before releasing a kitchen-set colour into production?
Define the base resin, moulding process, surface appearance, reference sample and measurable colour limits before the first run.
How do you choose a masterbatch let-down ratio for kitchen-set parts?
Set the dosage through controlled trials, then verify dispersion, shade strength and compatibility with the base resin.
Why can matching parts in one kitchen set show different shades?
Resin type, wall thickness, mould temperature, cooling conditions and surface finish can change how each part reflects colour.
How should you investigate colour drift in finished plastic parts?
Inspect parts under fixed lighting, compare them with the approved standard, and check batch, dosage, resin and moulding records.
Related products
 | masterbatches ₹200 Khetan Polytex is a leading white masterbatch manufacturers that offer products with wide applications in the plastic industry. View product → |
 | BLUE MASTERBATCH ₹220 BLUE MASTERBATCH WITH BRIGHT TONE OF BLUE COLOR ,EASILY COMPATIBLE WITH PE AND PP RESINS,STABLE WITH CHANGES IN WEATHER AND SURROUNDINGS .ABILITY TO... View product → |
 | Masterbatches Lemon yellow masterbatch is used in various manufacturing processes, including injection molding, blow molding, extrusion, and film manufacturing. View product → |
 | BLUE MASTERBATCH ₹295 BLUE COLOUR MASTERBATCH CODE OF PRODUCT: E 1049 HEAT STABILITY: 260° CELCIUS LIGHT FASTNESS: 7 DARK BLUE SHADE OF BLUE MASTERBATCH WITH VERY GOOD... View product → |